


Sakai Tutorials
Organizing Course Materials in SakaiOverview
In Sakai, there are four main approaches to organizing and presenting course materials. Each method has both pros and cons. The four methods are: These methods will be explained in more detail below.
Using Resources OnlyA course can be quickly and easily setup using the Resources tool. Files are first uploaded and then can be moved around and put into folders which allows for a well-established course with concrete organization. Pros:
Cons:
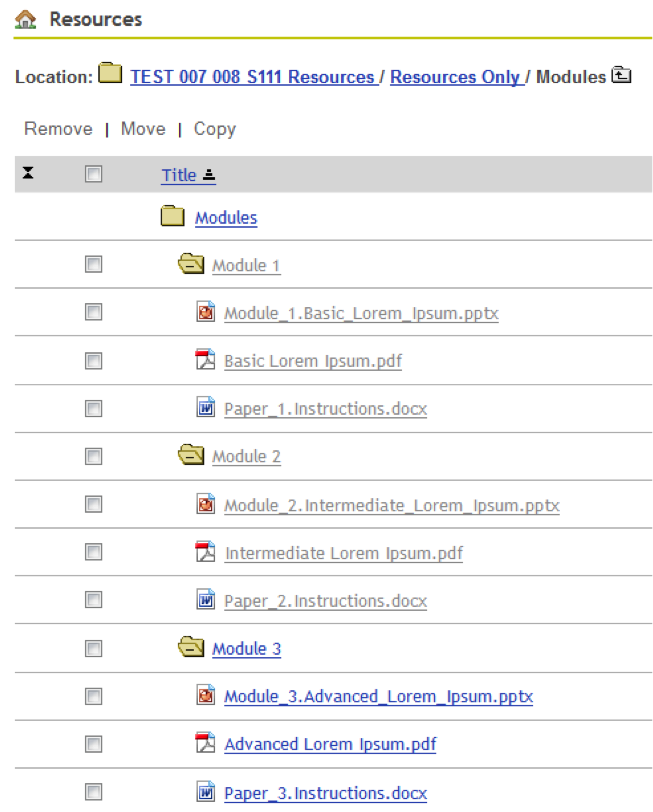
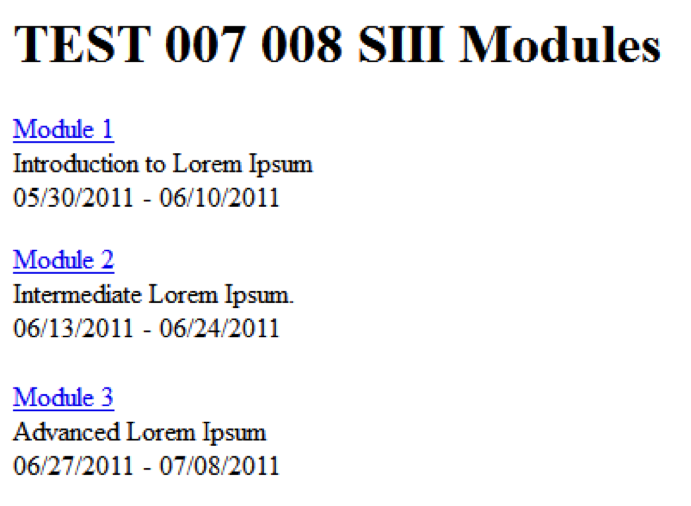
ExamplesHere are some examples of how a course will appear if created using Resources. StructureInstructor View
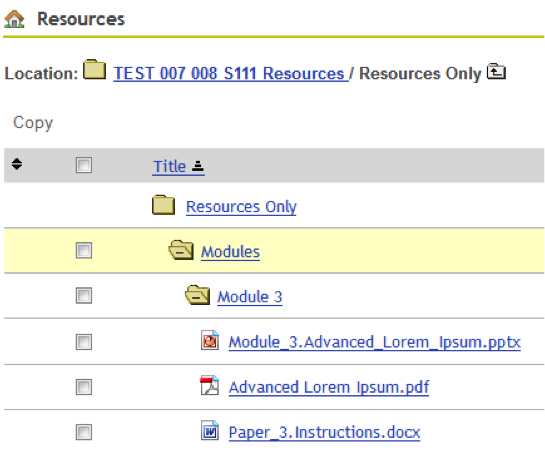
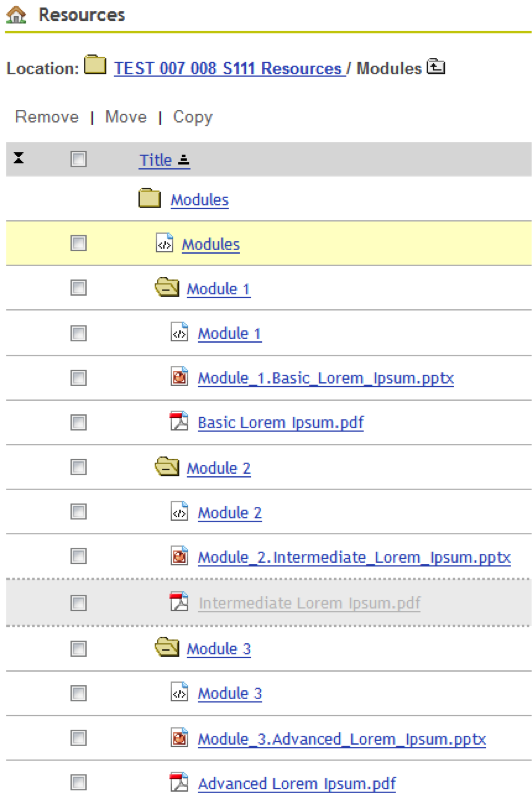
Note: if a folder is greyed out, an instructor can access it but students will be unable to see it. Student View
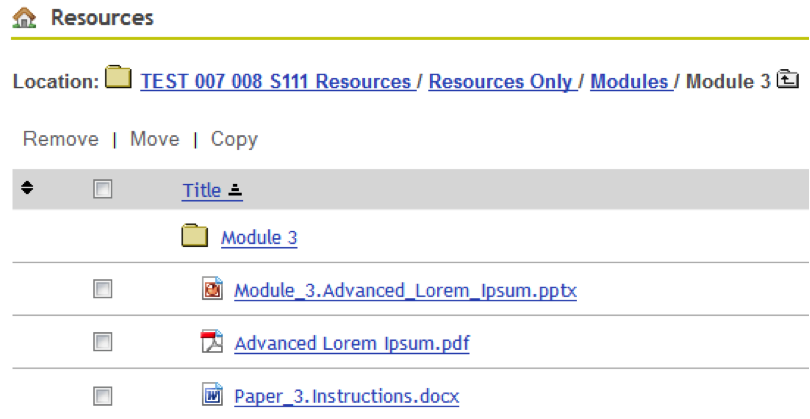
Note: Only Module 3 is displayed since the other two modules are unavailable to students. Individual Module
Note: Student view is the same as instructor view unless there are hidden files.
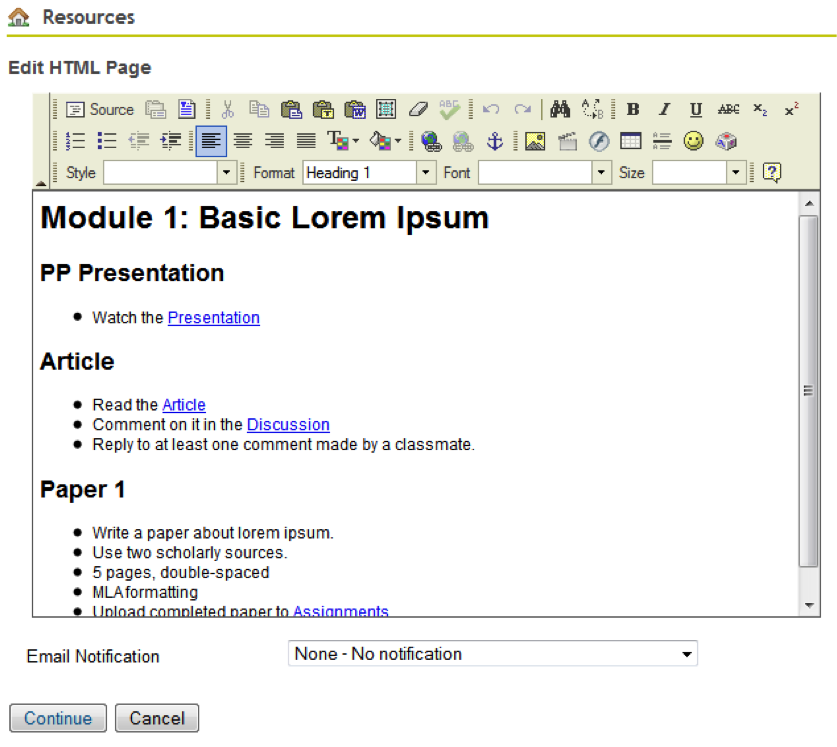
Using Create HTML Page w/ ResourcesA course can be organized and presented using HTML pages created in Sakai. These pages can link to each other and to course materials uploaded to Resources. It is also possible to link to other tools within Sakai (e.g. Forums, Blog, etc.) and external content on the internet by using URLs.
Pros:
Cons:
ExamplesHere are some examples of how a course will appear if created using HTML pages. StructureInstructor View
Student View
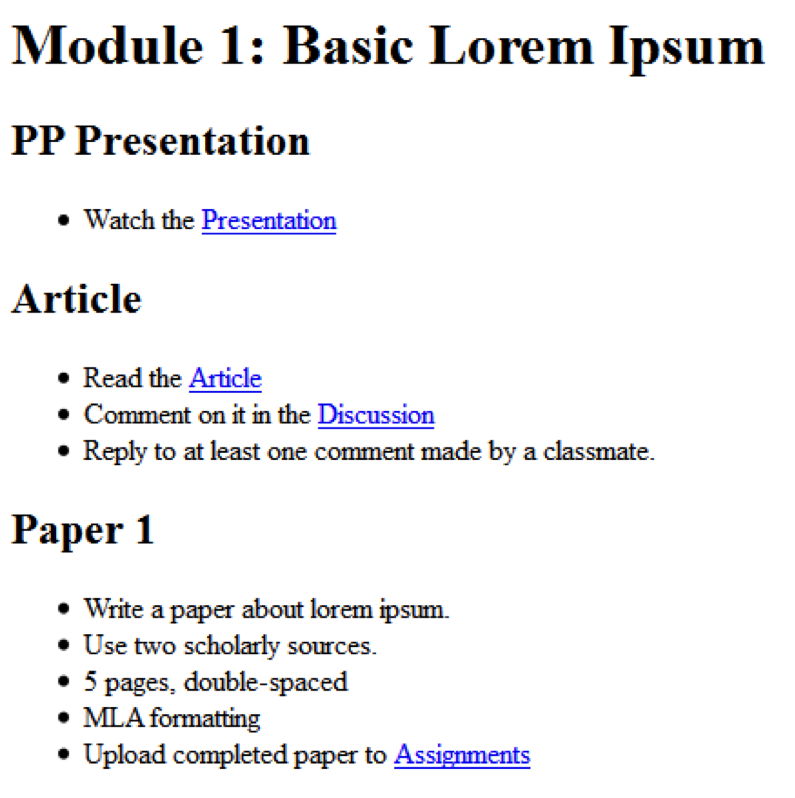
Individual ModuleInstructor View
Student View
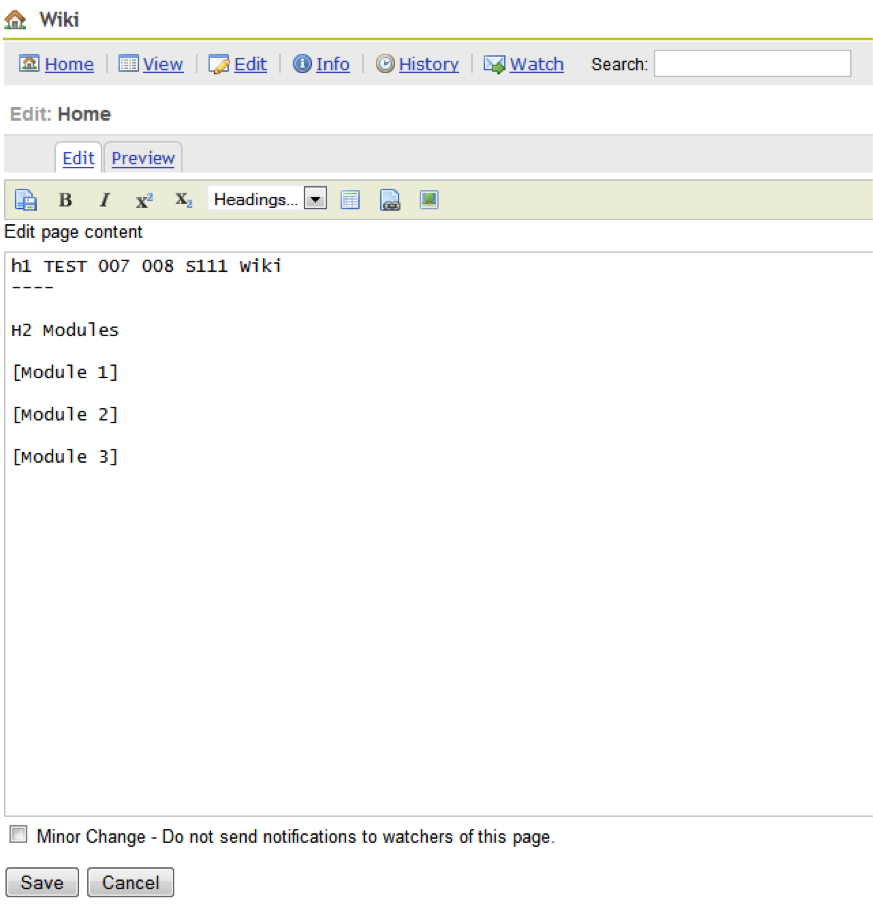
Using Wiki Tool w/ ResourcesA course can be organized and presented using the Wiki tool. Wiki pages can link to each other and to course materials uploaded to Resources. It is also possible to link to other tools within Sakai (e.g. Forums, Blog, etc.) and external content by using URLs. Pros:
Cons:
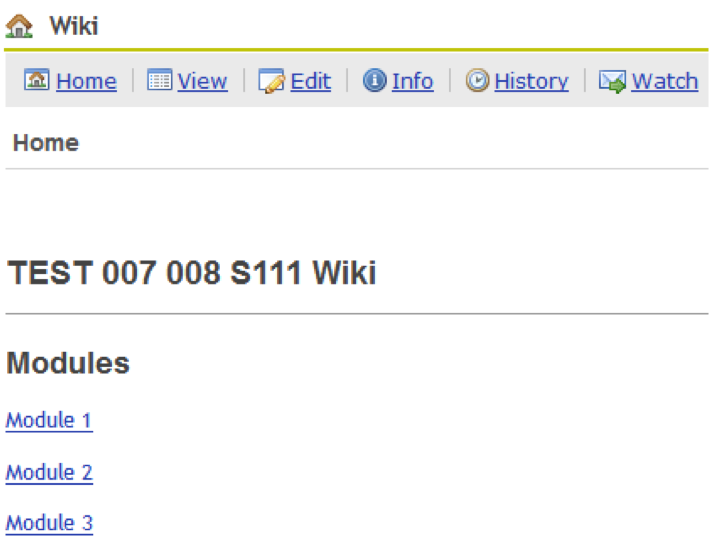
ExamplesHere are some examples of how a course will appear if created using a Wiki. StructureInstructor View
Student View
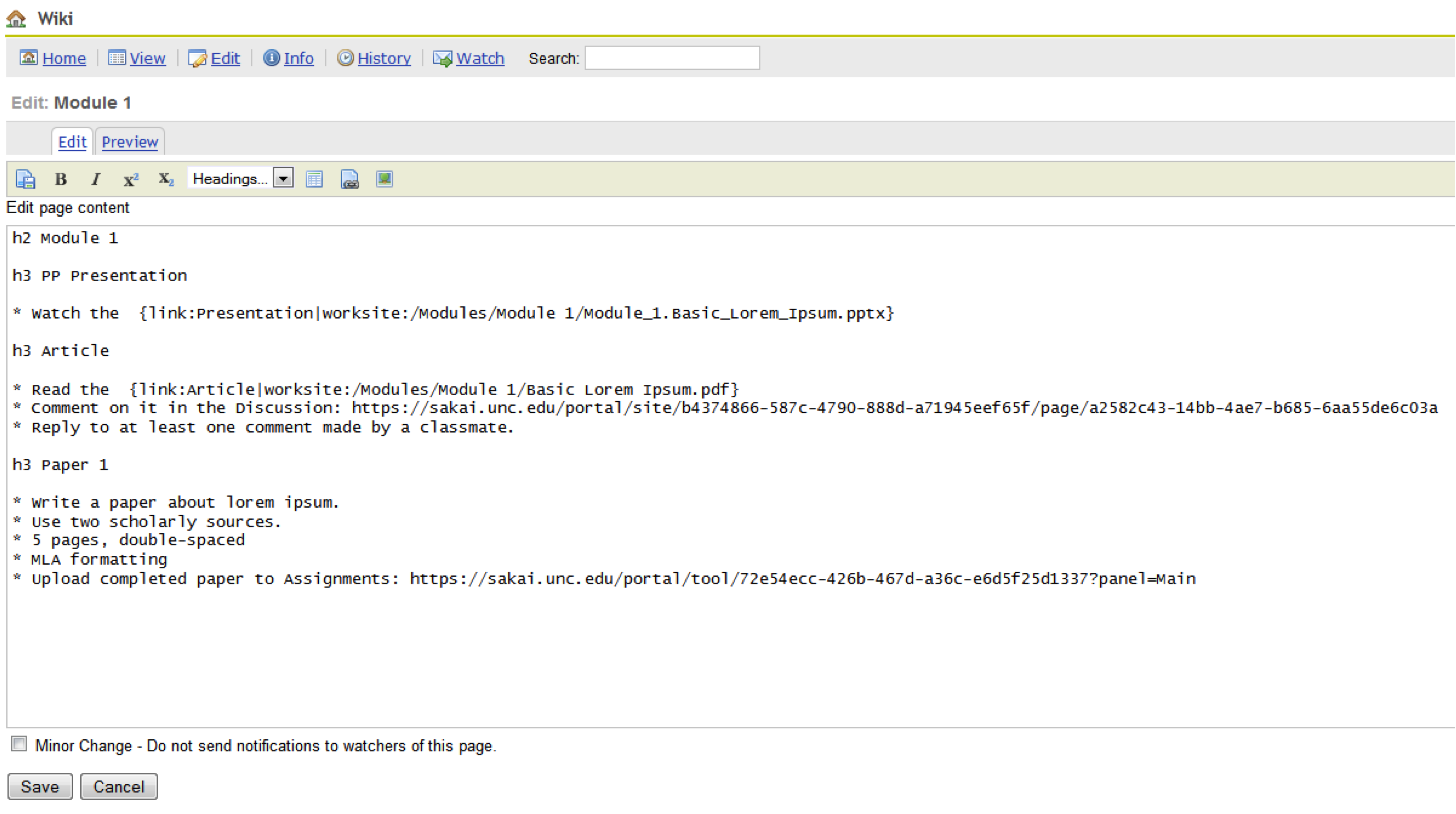
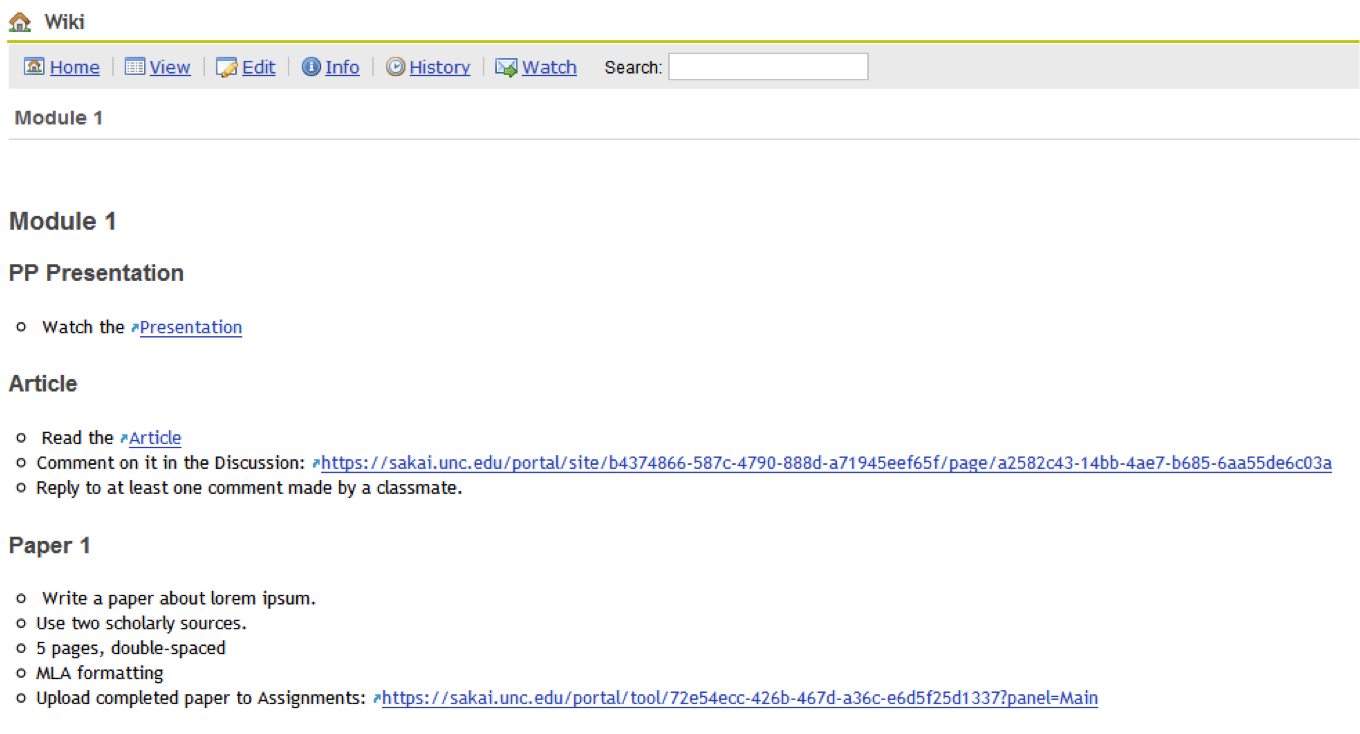
Individual ModuleInstructor View
Student View
Related Resources |

| Sakai home | policies | maintenance | Sakai tools |
© 2015 The University of North Carolina at Chapel Hill Sakai Tutorials by University of North Carolina at Chapel Hill is licensed under a Creative Commons Attribution-Non Commercial-Share Alike 3.0 Unported License. |